
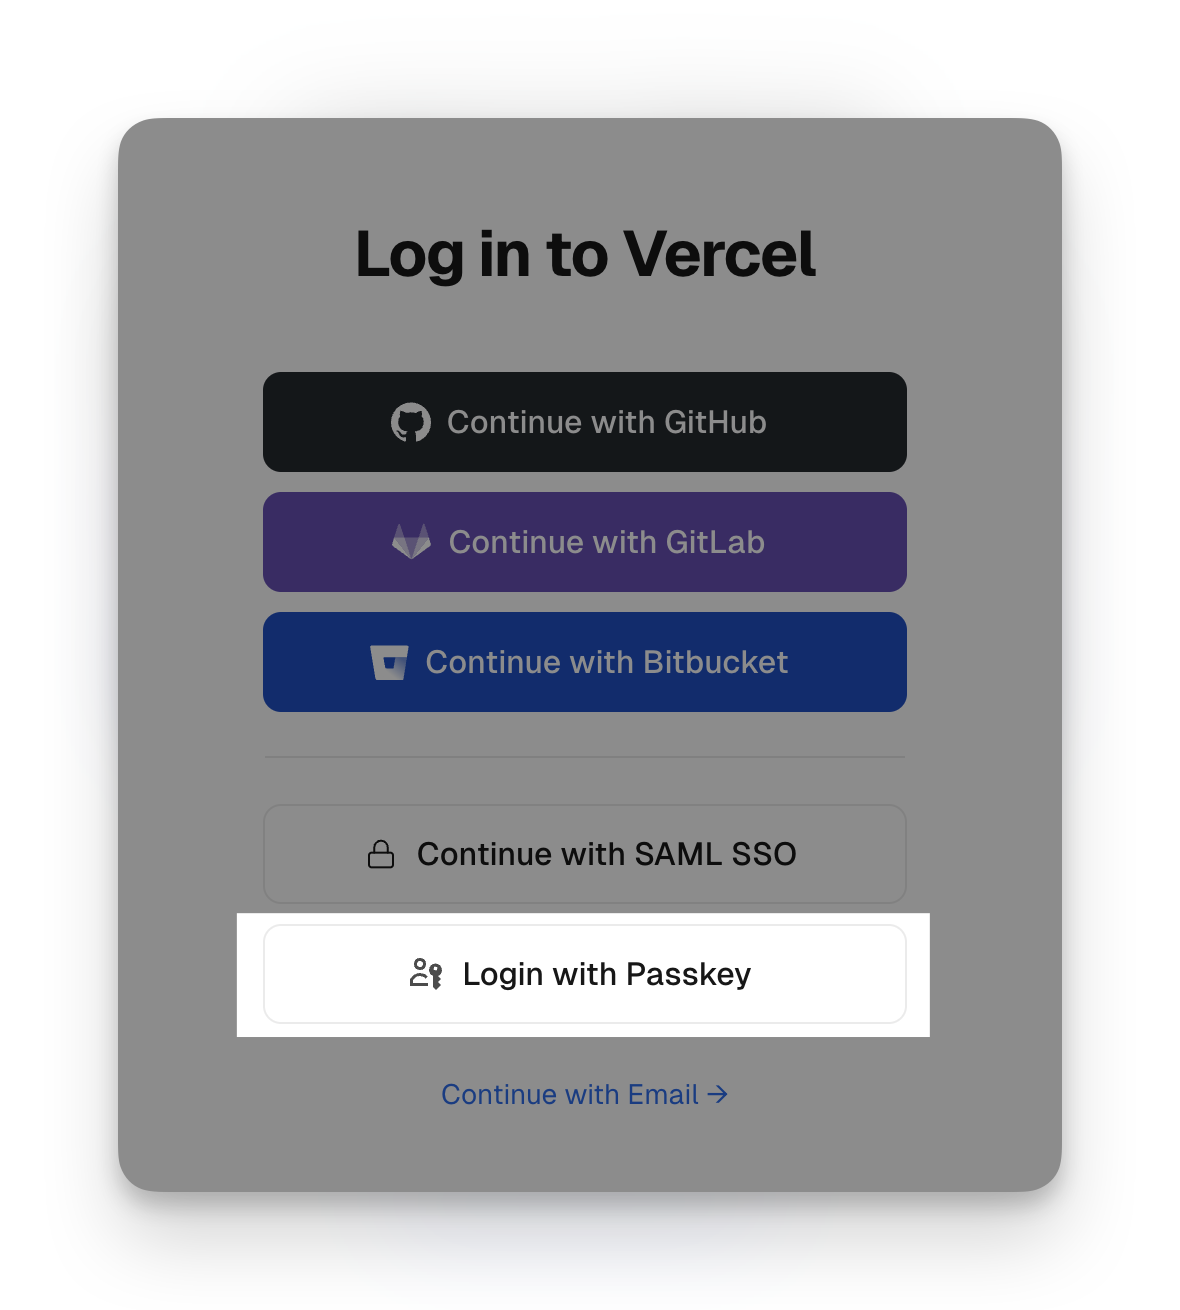
Passkey login is gaining popularity faster than ever before, and for good reason. You must have noticed a new "Sign in with a passkey" option when logging into websites like GitHub or Vercel lately.
Passkeys are a new way to sign in to websites and apps without the need for passwords. They use your device's built-in unlock mechanism, such as Touch ID or Face ID, to authenticate your identity, providing a smooth, secure, and user-friendly login experience compared to traditional passwords and even two-factor authentication methods.
If you're looking to add a passkey login to your existing web app, you're in the right place! In this tutorial, we'll walk you through how you can add passkey authentication to your existing web app, regardless of the framework you're using.
We'll assume that you already have authentication set up, so we won't focus on that here. Instead, we'll dive straight into adding Passkeys to your existing auth system.
To bring passkeys to your app, you'll typically need two things:
So, let's get started on upgrading your app's login experience! To make it easier for you to follow along, we have created a sample app that you can use as a reference throughout the tutorial.
We'll be implementing passkey functionality in two phases.
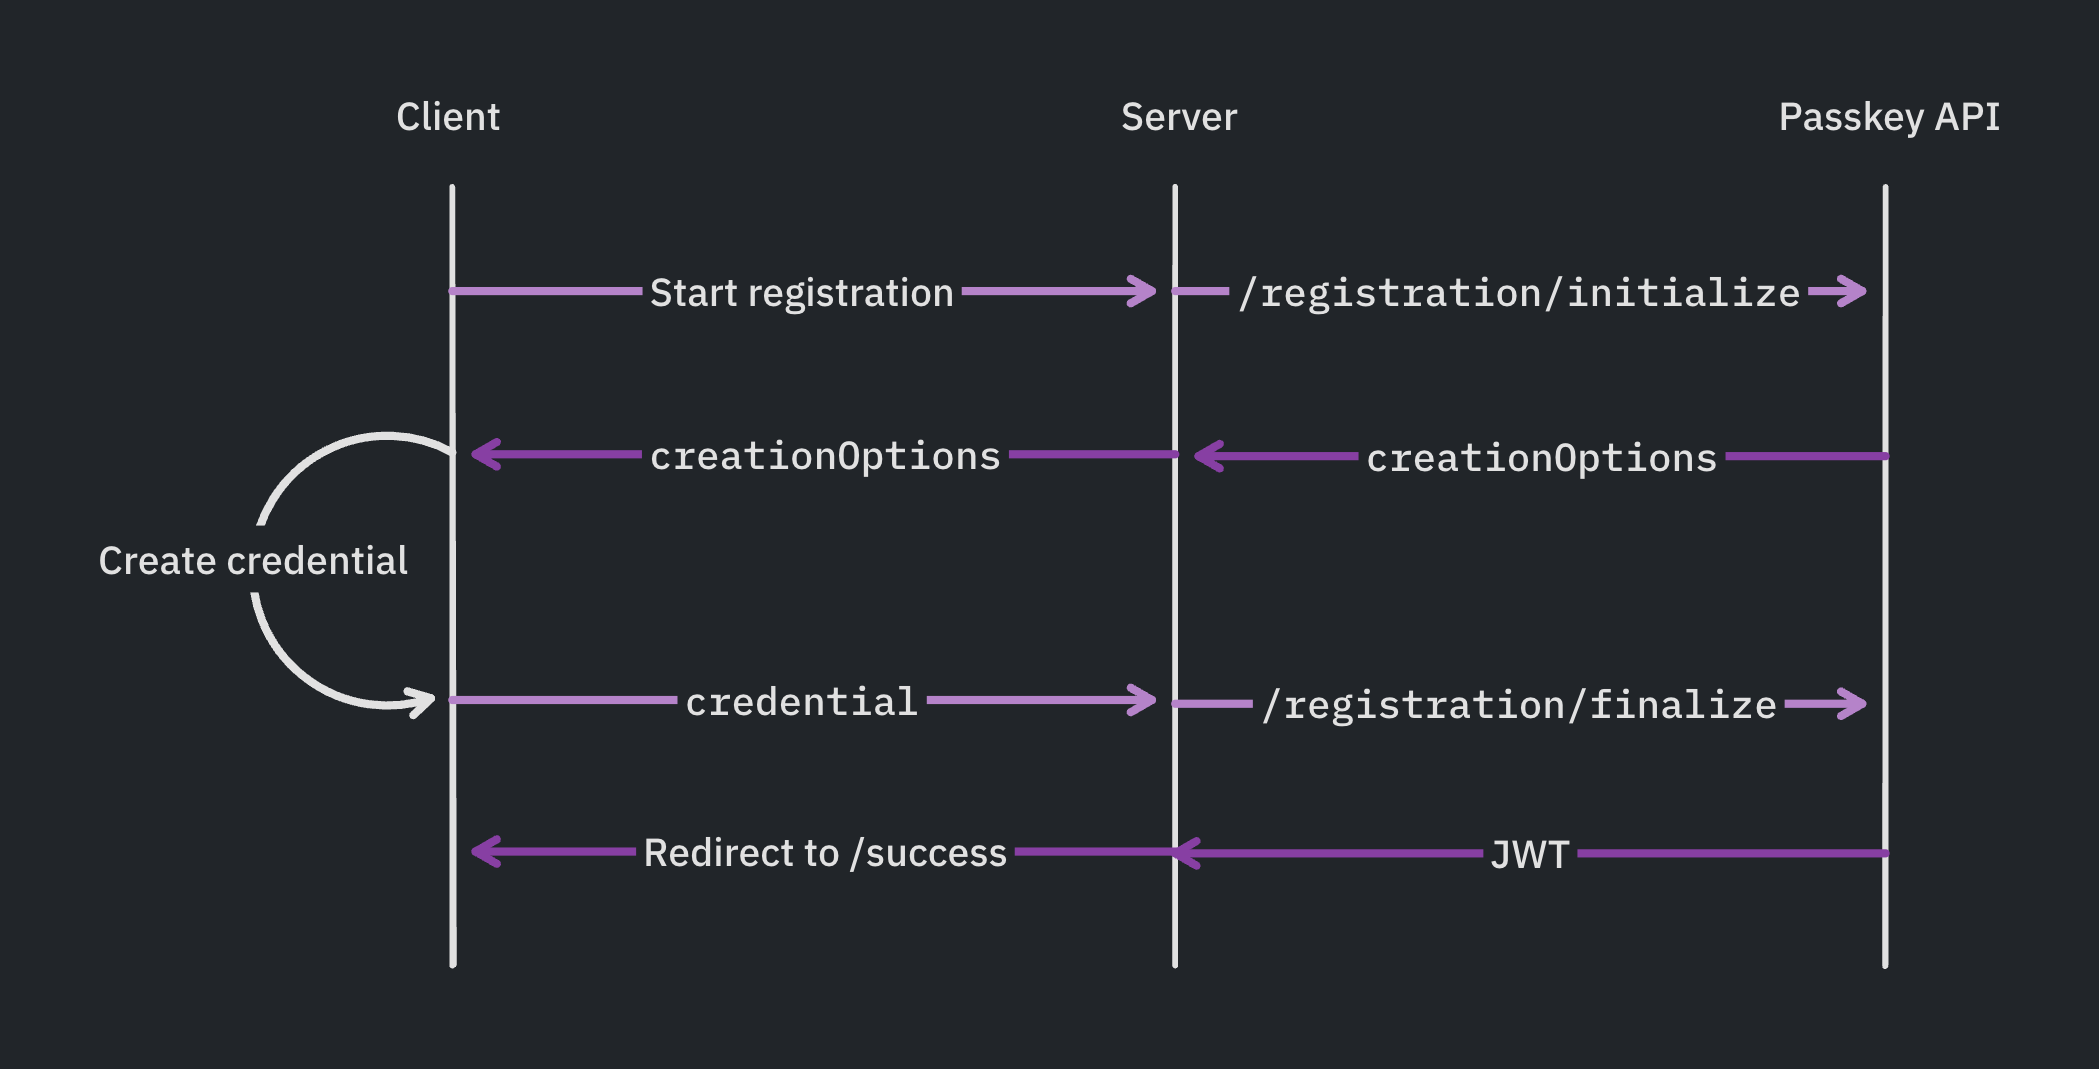
This is what the general flow looks like. There will be two steps ("start" and "finalize"), which pass through the frontend, backend, and Passkey API.
1. Start Registration: Client requests server to start registration, server fetches creationOptions from Passkey API, and passes them to the client.
2. Create Credential: Client creates the passkey using creationOptions.
3. Finalize Registration: Client sends credential to server, server validates it with Passkey API, and confirms registration to client.
Let's implement it now in the code.
Make sure you have the passkey SDK installed in your backend.
The startServerPasskeyRegistration function is an asynchronous function that takes a userID parameter and does the following:
db.users array using the userID.passkeyApi.registration.initialize with the user's ID and email (or an empty string if email is missing).createOptions object from the SDK, which has the data needed to finish the registration on the client-side.The finishServerPasskeyRegistration function is another asynchronous function that takes a credential parameter. It simply calls passkeyApi.registration.finalize with the credential to complete the passkey registration on the server-side.
These functions are service-level functions that handle the logic for working with the Hanko Passkey SDK. They can be called from controller functions, which are then triggered by the corresponding routes in your application.
The handlePasskeyRegister() controller function first extracts the user object from the request (req) and retrieves the userID from it.
Next, it extracts the start, finish, and credential properties from the request body. These properties are used to determine the specific action to be performed.
If the start property is present, the controller function calls thestartServerPasskeyRegistration service function, passing the userID as an argument. This function initializes the passkey registration process and returns the createOptions object. The controller then sends the createOptions back to the client as a JSON response.
If the finish property is present, the controller function calls the finishServerPasskeyRegistration service function, passing the credential obtained from the request body. This function finalizes the passkey registration process on the server-side. Once the registration is complete, the controller sends a JSON response with a success message.
Now, we setup a /passkeys/register POST route. When a POST request is made to this, the handlePasskeyRegister controller function is invoked to handle the passkey registration process.
Make sure to install the @github/webauthn-json library in your frontend.
Next, create a registerPasskey function that will be called when the user clicks a button to register a new passkey. It handles the client-side process of registering a passkey.
The function starts by sending a POST request to the server at the endpoint /api/passkeys/register to initiate the passkey registration process. The request includes a JSON payload with the following properties:
start: true: Indicates that the registration process is starting.finish: false: Indicates that the registration process is not yet finished.credential: null: Initially, no credential is provided.The function then awaits the response from the server and extracts the createOptions from the response JSON.
Next, the function calls the create function from @github/webauthn-json library, passing the createOptions as an argument.
After obtaining the credential, the function sends another POST request to the same endpoint, but this time with a different payload:
start: false: Indicates that the registration process is no longer starting.finish: true: Indicates that the registration process is finished.credential: The newly created passkey credential.Finally, if the response is successful, a passkey is registered for the user.
Now, to make it work we're missing one crucial step: getting the Tenant ID and API key secret from Hanko Cloud. For that, navigate over to Hanko, create an account, and set up your organization. Navigate to 'Create new project', select 'Passkey Infrastructure', and provide your project name and URL.
Note: It's recommended to create separate projects for your development and production environments. This way, you can use your frontend localhost URL for the development project and your production URL for the live project, ensuring a smooth transition between environments without the need to modify the 'App URL' later.
Obtain your Tenant ID and create an API key, then add the Tenant ID and API key secret to your backend's '.env' file.
Now that you have your secrets added to your backend's .env file, you should be all set to register a passkey. Go ahead and give it a try!
To enable passkey login, we'll create one more service function to initiate and finish the login process.
Now, similar to handlePasskeyRegister create a handlePasskeyLogin controller.
This function handles process of logging in with a passkey. It receives a request with start, finish, and options properties. If start is true, it initiates the login process by calling startServerPasskeyLogin() and returns the login options. If finish is true, it completes the login process by calling finishServerPasskeyLogin() with the provided options. It then retrieves the user ID from the JWT token, finds the corresponding user in the database, creates a session ID, sets the user for the session, and logs them in.
In the /passkeys/login POST route, we invoke the above controller.
Now we create a signInWithPasskey function. This function will interact with the backend APIs to initiate and finalize the passkey login process.
Congratulations! You now have a fully functional passkey login in your web app, significantly enhancing the user experience and making the authentication process more seamless for your users.
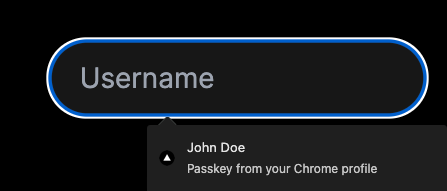
To further enhance the user's login experience, you can add autofill support to your email (or username) fields. This feature allows users to select their passkey directly from the autofill popup that appears when clicking on the input box, streamlining the login process.
When a user clicks on a passkey in the autofill popup, they will be immediately logged in, following the same flow as if they had clicked the "Sign in with passkey" button. This seamless integration provides a more intuitive and efficient way for users to access their accounts, eliminating the need for extra clicks or navigation.
To implement this feature, you'll need to make some additions to your login page. Let's start with that.
When the Login component mounts, it checks if conditional mediation is available using the isConditionalMediationAvailable function. If available, it automatically attempts to sign in with a passkey using the signInWithPasskeyAutofill function.
The signInWithPasskey function takes an optional autofill parameter, which determines whether to use conditional mediation for the autofill popup. If autofill is set to true, the function sets the mediation property of the loginOptions to "conditional" and assigns an AbortController signal to cancel the autofill request if needed.
By adding the autoComplete="email webauthn" attribute to the email input field, we enable the browser's autofill functionality to suggest available passkeys associated with the user's email address. When the user clicks on the input box, the autofill popup appears, allowing them to select their passkey and streamline the login process.
The "Sign in with a Passkey" button will always serve as a fallback option, allowing users to manually initiate the passkey sign-in flow if autofill is not available or if they prefer to use a different passkey.
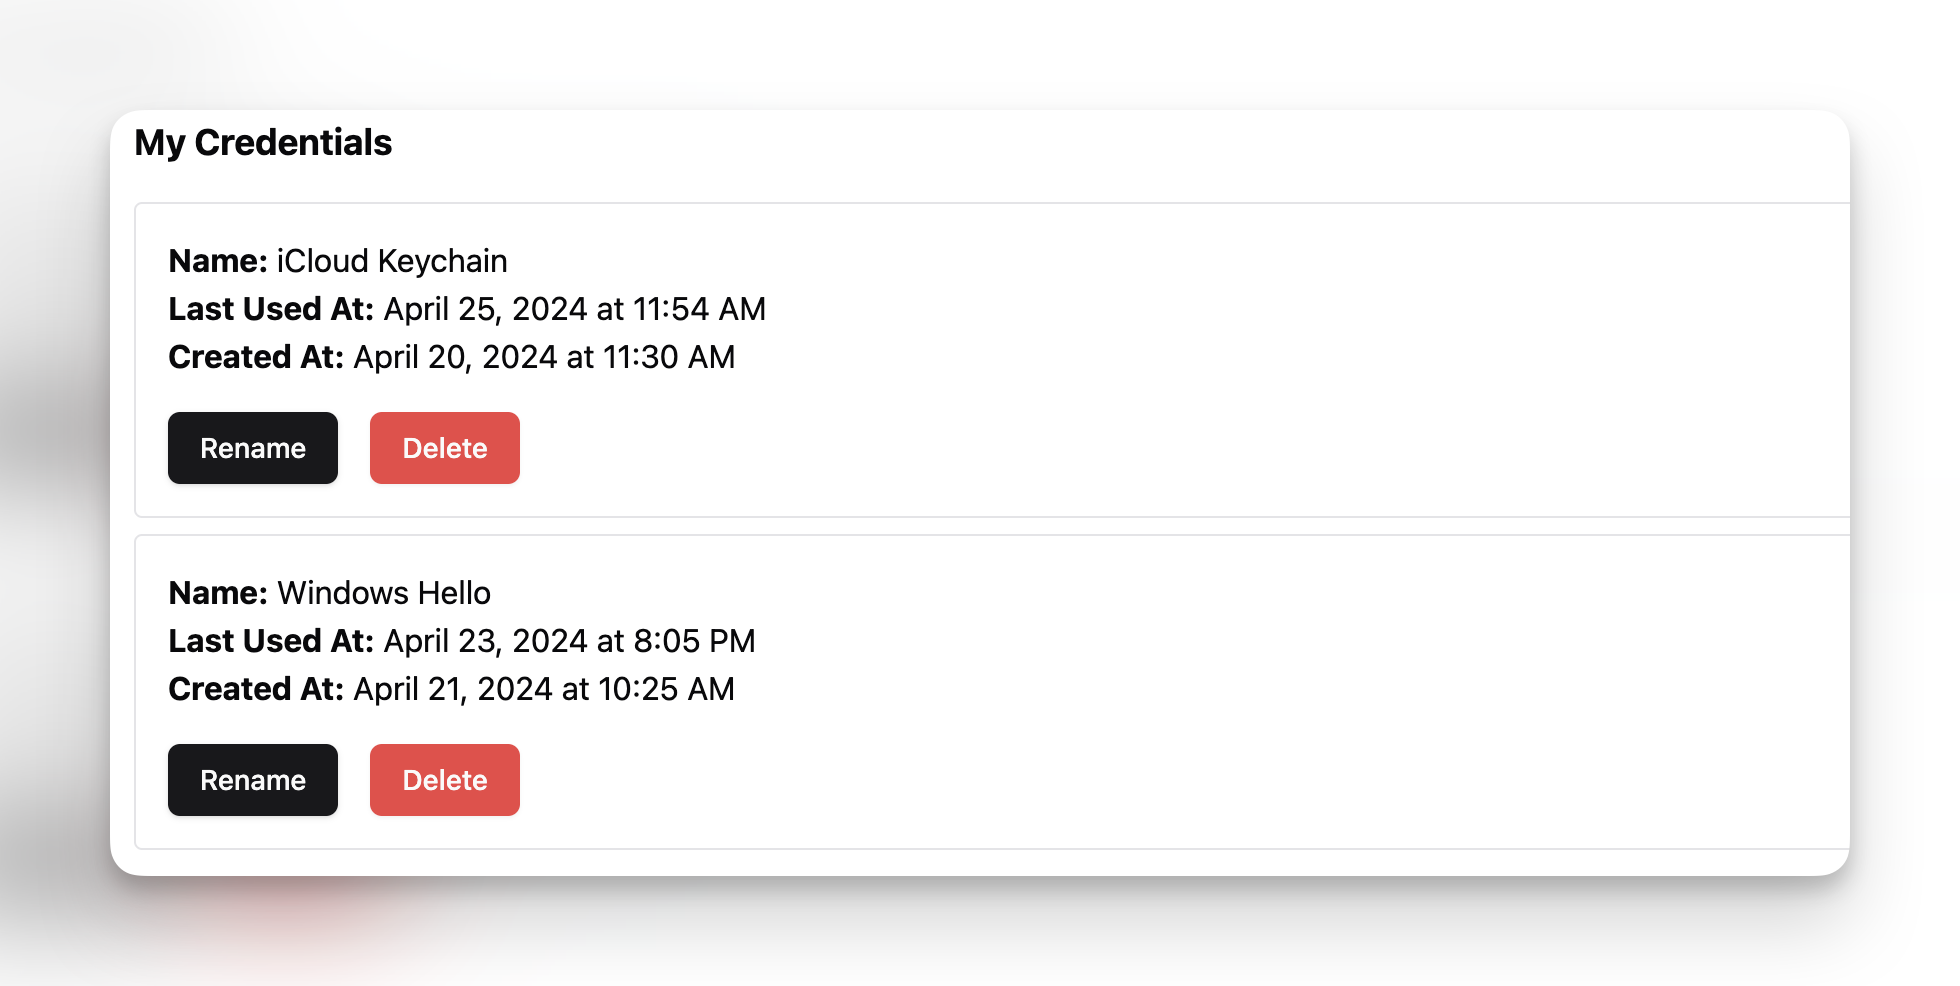
In addition to implementing passkey autofill support, providing users with the ability to manage their passkeys can significantly enhance their experience. By offering features such as deleting, renaming, and listing available credentials, you give users greater control over their passkey credentials.
Create two more service-level functions listCredentials and deleteCredential.
The listCredentials function takes a userID as input and retrieves all the passkey credentials associated with that user, whereas deleteCredential function will allow users to remove a specific passkey from their account. It takes a credentialID as input, identifying the passkey to be deleted.
The listPasskeyCredentials and deletePasskeyCredential controller functions handle the API endpoints for retrieving and deleting passkey credentials. They utilize the listCredentials and deleteCredential service functions, respectively.
In the /passkeys/credentials route, you can invoke the above controllers.
On the frontend, you can make API calls to fetch and delete passkey credentials. Here's an example of how you can achieve this:
That's it! You're done. So, along with adding a passkey authentication, we've also added autofill support and passkey management. Feel free to reach out to us on Discord if you get into issues.
Github repo: https://github.com/teamhanko/passkeys-webapp
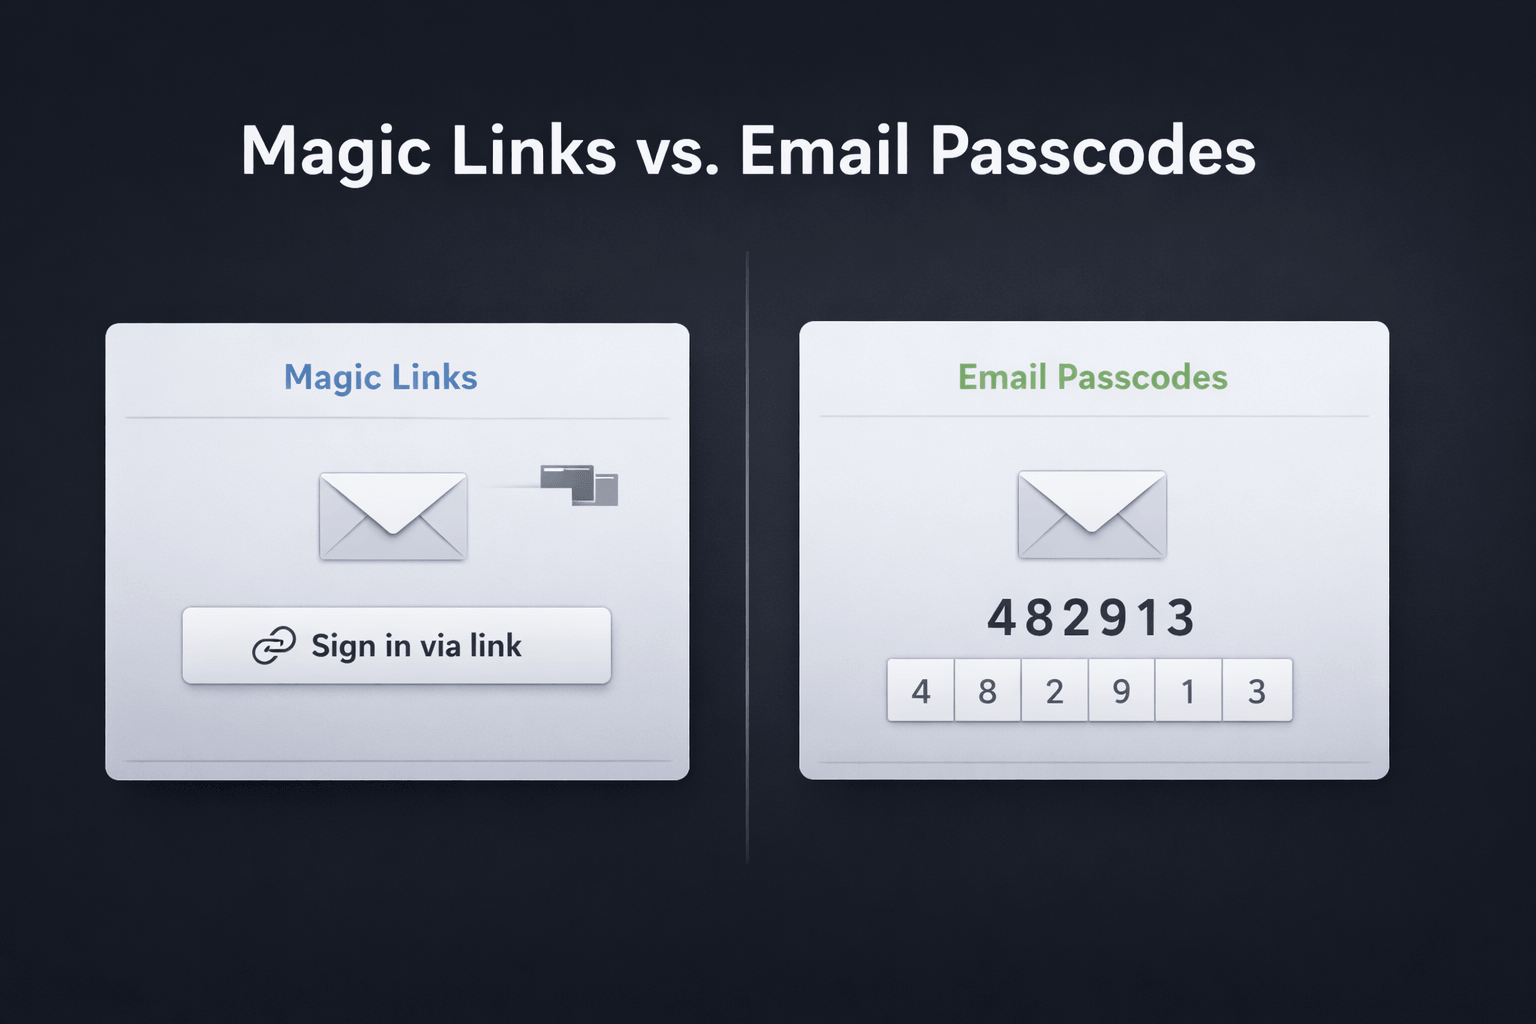
Magic links and email passcodes both promise passwordless login with low friction. But once you look at cross-device sign-in, browser behavior, email

Why we’re moving Hanko from a Kubernetes-native single-tenant setup to a multi-tenant architecture and what “cloud native” got wrong for a small team.

"Zombie passkeys" – passkeys that exist in a limbo state between client devices and authentication servers.