
IMPORTANT NOTE: This post was released in summer 2021 when Apple gave us a first preview on passkeys. Some of the content below is still relevant, but our product has evolved since and the code examples won't work anymore. We suggest you take a look at the new Hanko Passkey API. You can also check out our passkey demo at passkeys.io.
---
This is the first part of a two-part series on passkeys, as introduced by Apple at WWDC21. In this article, we will walk you through the creation of a simple web app for registration and authentication using passkeys on Apple devices. In part 2 of this guide, we will cover adding a sample iOS app to your setup from the guide, demonstrating a seamless user experience across web and mobile.
Target Audience: Developers who want to try out passkeys with their website and / or app and, for that, need to adopt WebAuthn on their server.
Apple announced at WWDC21 that WebAuthn credentials will be available as "passkeys" in the iCloud Keychain, as well as the availability of system-wide WebAuthn APIs on iOS, iPadOS, and macOS. You can try a the live demo of this guide here: Passkey demo
Passkeys are based on WebAuthn, a capability of your operating system that enables your device to store private key material (the WebAuthn credentials) and generate signatures with them to authenticate you against a web server. Sounds complicated, but for the end user this breaks down to using Touch ID, Face ID, or other biometrics on websites and apps instead of passwords. At the same time, behind the scenes, the WebAuthn protocol allows for a very strong, unphishable, cryptographic multi-factor authentication mechanism that can replace all other current second-factor methods like OTP apps, SMS codes, while being far more secure.
While the WebAuthn API has been available on all major platforms – including iOS and macOS – for some time, Apple’s new "passkeys in iCloud Keychain" feature is attempting to solve WebAuthn’s biggest remaining pain point. The synchronization of WebAuthn credentials across all devices of a user enables true passwordless accounts that do not need to fall back to less secure authentication or recovery methods like passwords if you want to sign in to a website or app on a new device. Once enrolled, users can sign in with Face ID and Touch ID on all their (Apple-only, for now) devices without worrying at all about creating or memorizing a password or becoming the victim of a password-related attack like Phishing.
The other WWDC announcement, system-wide WebAuthn APIs on iOS and macOS, is also very welcome, because the APIs enable apps and websites from the same service (i.e., the same URL) to access the same WebAuthn credentials on a device. You register in the app, and can use the passkey via Touch ID or Face ID seamlessly on the service's website as well (and vice-versa). Another result of the APIs is that other browsers than Safari (once they implement the new APIs) can access the credentials as well. Until now, only Safari supported system-level WebAuthn credentials on iOS, iPadOS, and macOS. Apple is only catching up here though, as this feature is already present on Windows 10 ("Windows Hello") and Android.
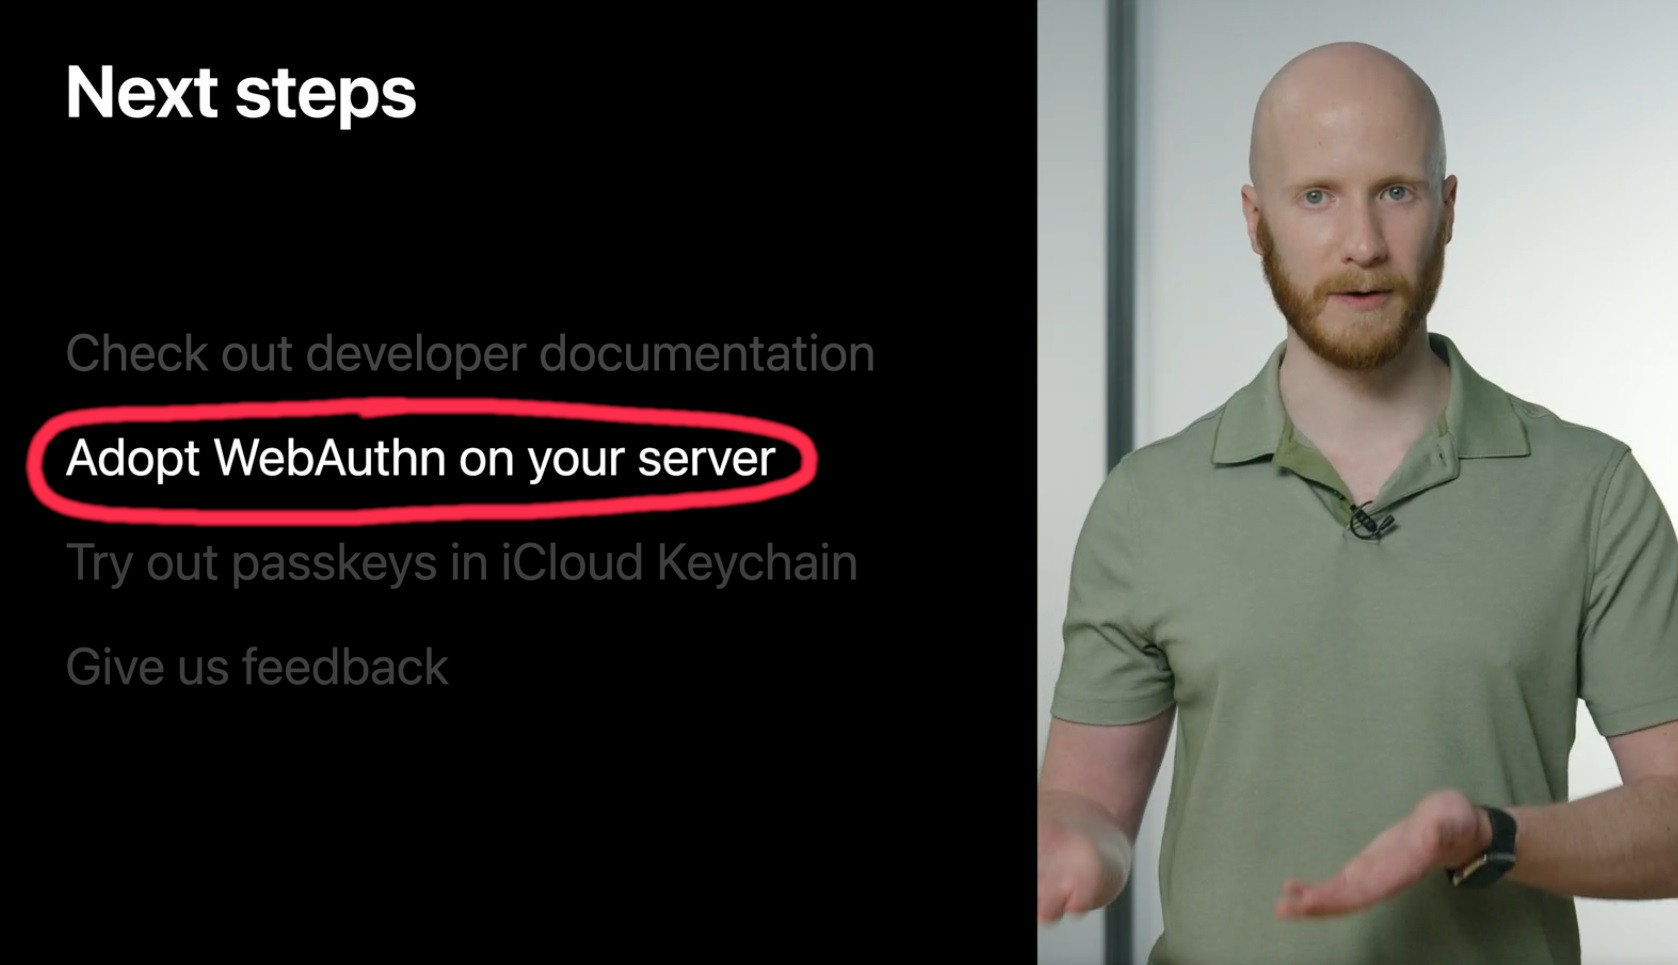
In their WWDC announcement video, Apple demonstrates the creation and seamless synchronization of passkeys across devices. They even show that WebAuthn works with iOS Apps using the same passkey. How to create the server part is left opaque, though. Actually, it is just an item in their list of “Next steps” without further explanation.
In this guide, you will:
What do you need to implement passkey login and iCloud Keychain sync?
Again – in case you are looking for the iOS app case, i.e., sharing passkeys between apps and websites, this will be the content of the second part of this guide.
Some context first: WebAuthn relies on two "ceremonies", the credential registration and the actual authentication. In the WebAuthn spec, they are called ‘attestation’ and ‘assertion’, but we will stick to registration and authentication.
During registration, a unique public/private keypair is being generated. The private key – a.k.a. the passkey – is stored securely on the user's device, i.e., in the Keychain, and the corresponding public key is being stored on the server. In our case at hand, the registration takes place only once, during initial user account registration. In a real world scenario, you would enable your users to add multiple WebAuthn credentials to their account on their profile page, e.g., USB/NFC Security Keys or other WebAuthn-capable devices.
Following the registration, whenever a user wants to log in to the service’s website or app, instead of providing a username and password, the user requests authentication with the passkey, using the WebAuthn protocol. In our demo case, the button will just say “Login”, no other form fields are required. The user does not even need to provide a username anymore.
Access to the passkey is protected on your device with your preferred mechanism: Face ID, Touch ID, or a PIN. The passkey itself never leaves your device during registration or authentication, it is only being used locally for creating a digital signature that will be validated with the public key on the server.
First of all, enable Platform Authenticator Syncing on your Apple devices. In iOS 15, turn on the Syncing Platform Authenticator switch under Settings > Developer. The Developer menu is available on your device when you set it up as a development device in Xcode.
In macOS Monterey, go to Safari > Preferences, click the Advanced tab, and select the “Show Develop menu in menu bar” option. Then enable the Develop > Enable Syncing Platform Authenticator menu item in Safari.
We will be using a simple html/JavaScript website with a Go backend for this demonstration. Of course you can use whatever language you are comfortable with on the server side. We choose Go, as you only need a few libraries to get the job done and it is easy to read even if you are not a Go expert.
A quick word on good security practices: This is a demo application. To keep things clean, we will not provide a lot of error handling or input sanitizing. You should not use this code in production environments.
To process WebAuthn requests in a web app, you need a WebAuthn server component, sometimes also called a "FIDO2 Server". This server is dealing with the key management on the application’s behalf, almost like a PKI. There are some open source implementations for that available on GitHub. An easy way to get WebAuthn up and running is using our Cloud-hosted Hanko Authentication API. For that you can create a free account at Hanko Dev Console[link removed]. Update: The example below uses an API and SDKs that are no longer available. Take a look at our current project with a working passkey example over on GitHub.
We assume that you have Go installed. If not, now is the right time to do so. Another tool you need is Git – we just assume that it is installed.
Next you need to clone our repository, which contains a small ready-made web app that uses WebAuthn credentials for authentication:
So what’s in there?
Let’s start with the main.go:
Pretty straight forward: we import the Go http and strings libraries, along with the Gin session middleware, the cookie library and the Gin request router. They enable us to create http endpoints to communicate with and to create cookie-based sessions for signed-in users.
To create unique ids for our users, we choose UUID and import a library for that.
Last but not least, we need the Hanko Go SDK, the corresponding configuration, and the two supporting models.
The Go app itself has a few http endpoints:
Besides some static content, we can see the four endpoints needed for the two WebAuthn ceremonies: registration and authentication.
You might have noticed the initialize/finalize pattern here: Whenever we are in the WebAuthn context, we first have to do an initialization with the FIDO Server. Then we need to communicate with the Authenticator (i.e., your Mac or iPhone) using Hanko’s JavaScript SDK and pass the result to the finalize endpoint.
The first two endpoints handle the registration ceremony. When the user enters the desired username and hits the "Register" button, the JavaScript function do_reg() in our app.js calls the /registration_initialize endpoint of the web app:
The endpoint will check the desired username, create a UUID, and return a JSON object which is contained in our JavaScript constant creationOptions. Let’s take a look at the backend code that creates said JSON:
First off, the code above picks up the ID and username. We need them for the call to the Hanko API. Then we set a few parameters for the WebAuthn credentials:
The Hanko API creates a correctly formatted representation of these parameters for us, which our JavaScript picks up as mentioned above. Our app can now pass them to the browser’s WebAuthn API using Hanko’s JavaScript SDK:
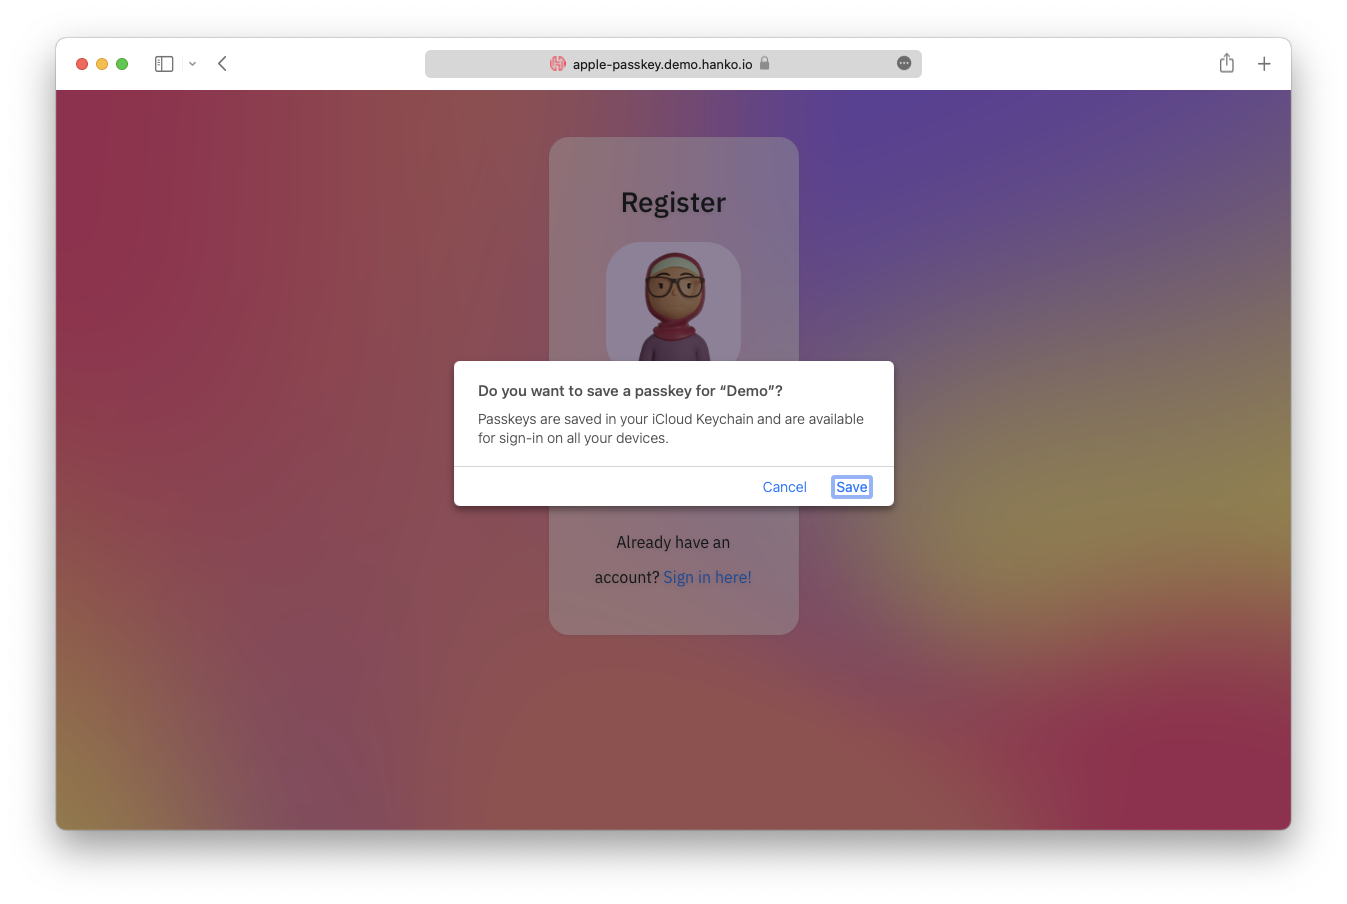
The hankoWebauthn.create() function will trigger a native dialogue in Safari to grant permission to create a new passkey by unlocking your Keychain. Once completed, we POST the authenticator’s response to the backend:
The backend at /registration_finalize receives this response and calls the Hanko API again, completing the registration ceremony.
Once this is successful, the browser will be redirected to the /content endpoint of the web app:
Well done! You are now registered with your passkey 🥳
As you have just registered your passkey, the application now considers you as “signed in”. Because of Apple’s new syncing feature, the passkey is now already available on your companion device – let’s assume that this is your iPhone.
To move on to the next step, press the “Logout” button in the upper right corner. This takes you to the /logout endpoint, terminating your session, and immediately redirecting you to the start page. Now we can proceed to the second ceremony.
The only thing we need to create the ultimate login experience is: A "Sign in" button 😉 and a rather simple JavaScript function do_auth() to trigger the login process. No need for a separate username field, as we are using the domain name and the UUID as our common identifier behind the scenes. Passkeys are fixed to a specific domain.
Let’s have a look at the first half of the do_auth() function:
This function first calls the backend’s /authentication_initialize endpoint, which creates request options like we did during registration. The resulting request options object is passed to Safari’s WebAuthn API using Hanko’s Javascript SDK function hankoWebAuthn.get(authOptions).
The corresponding backend code using the Hanko SDK is rather short:
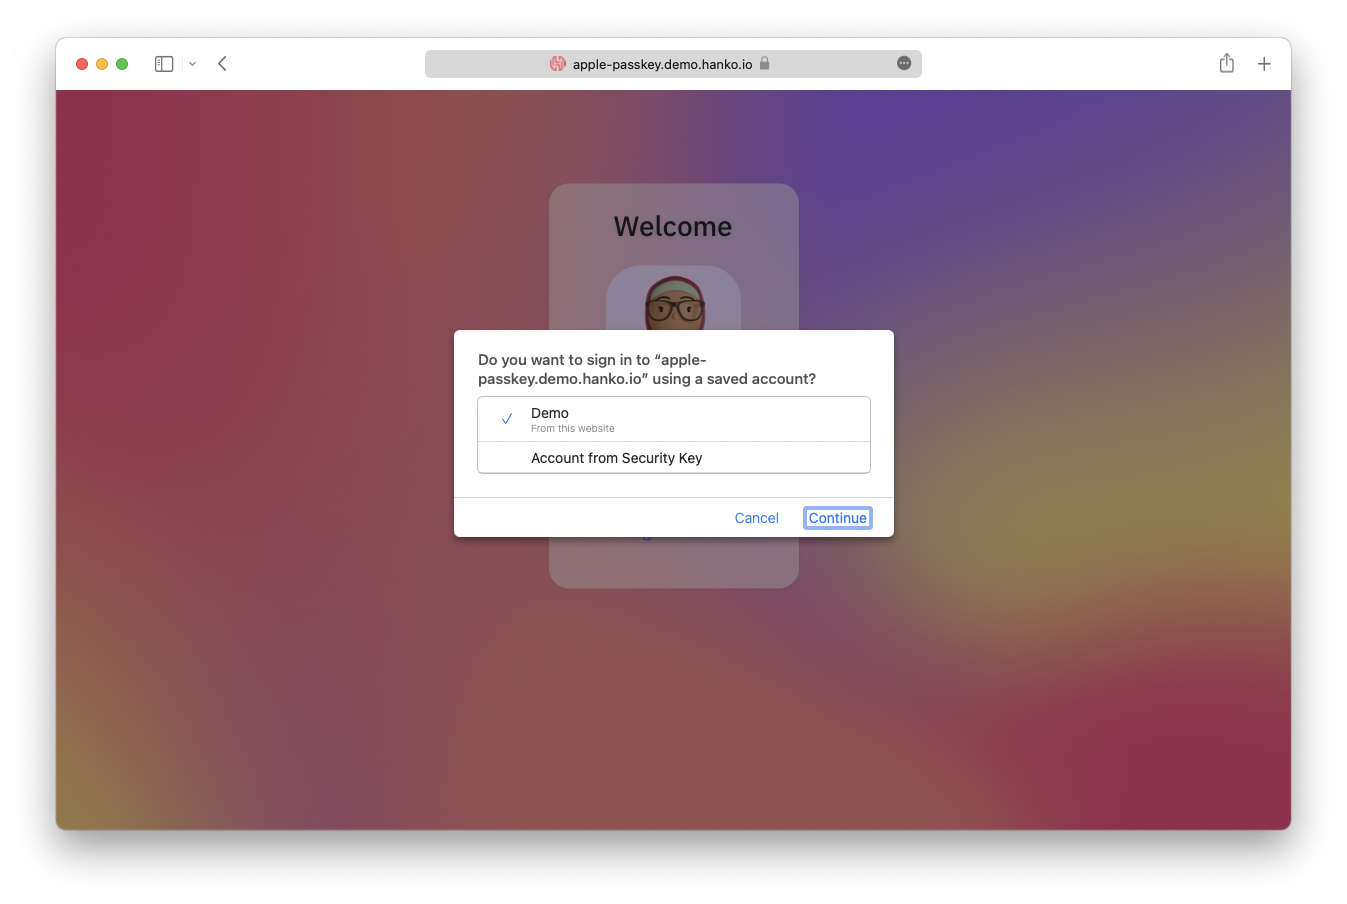
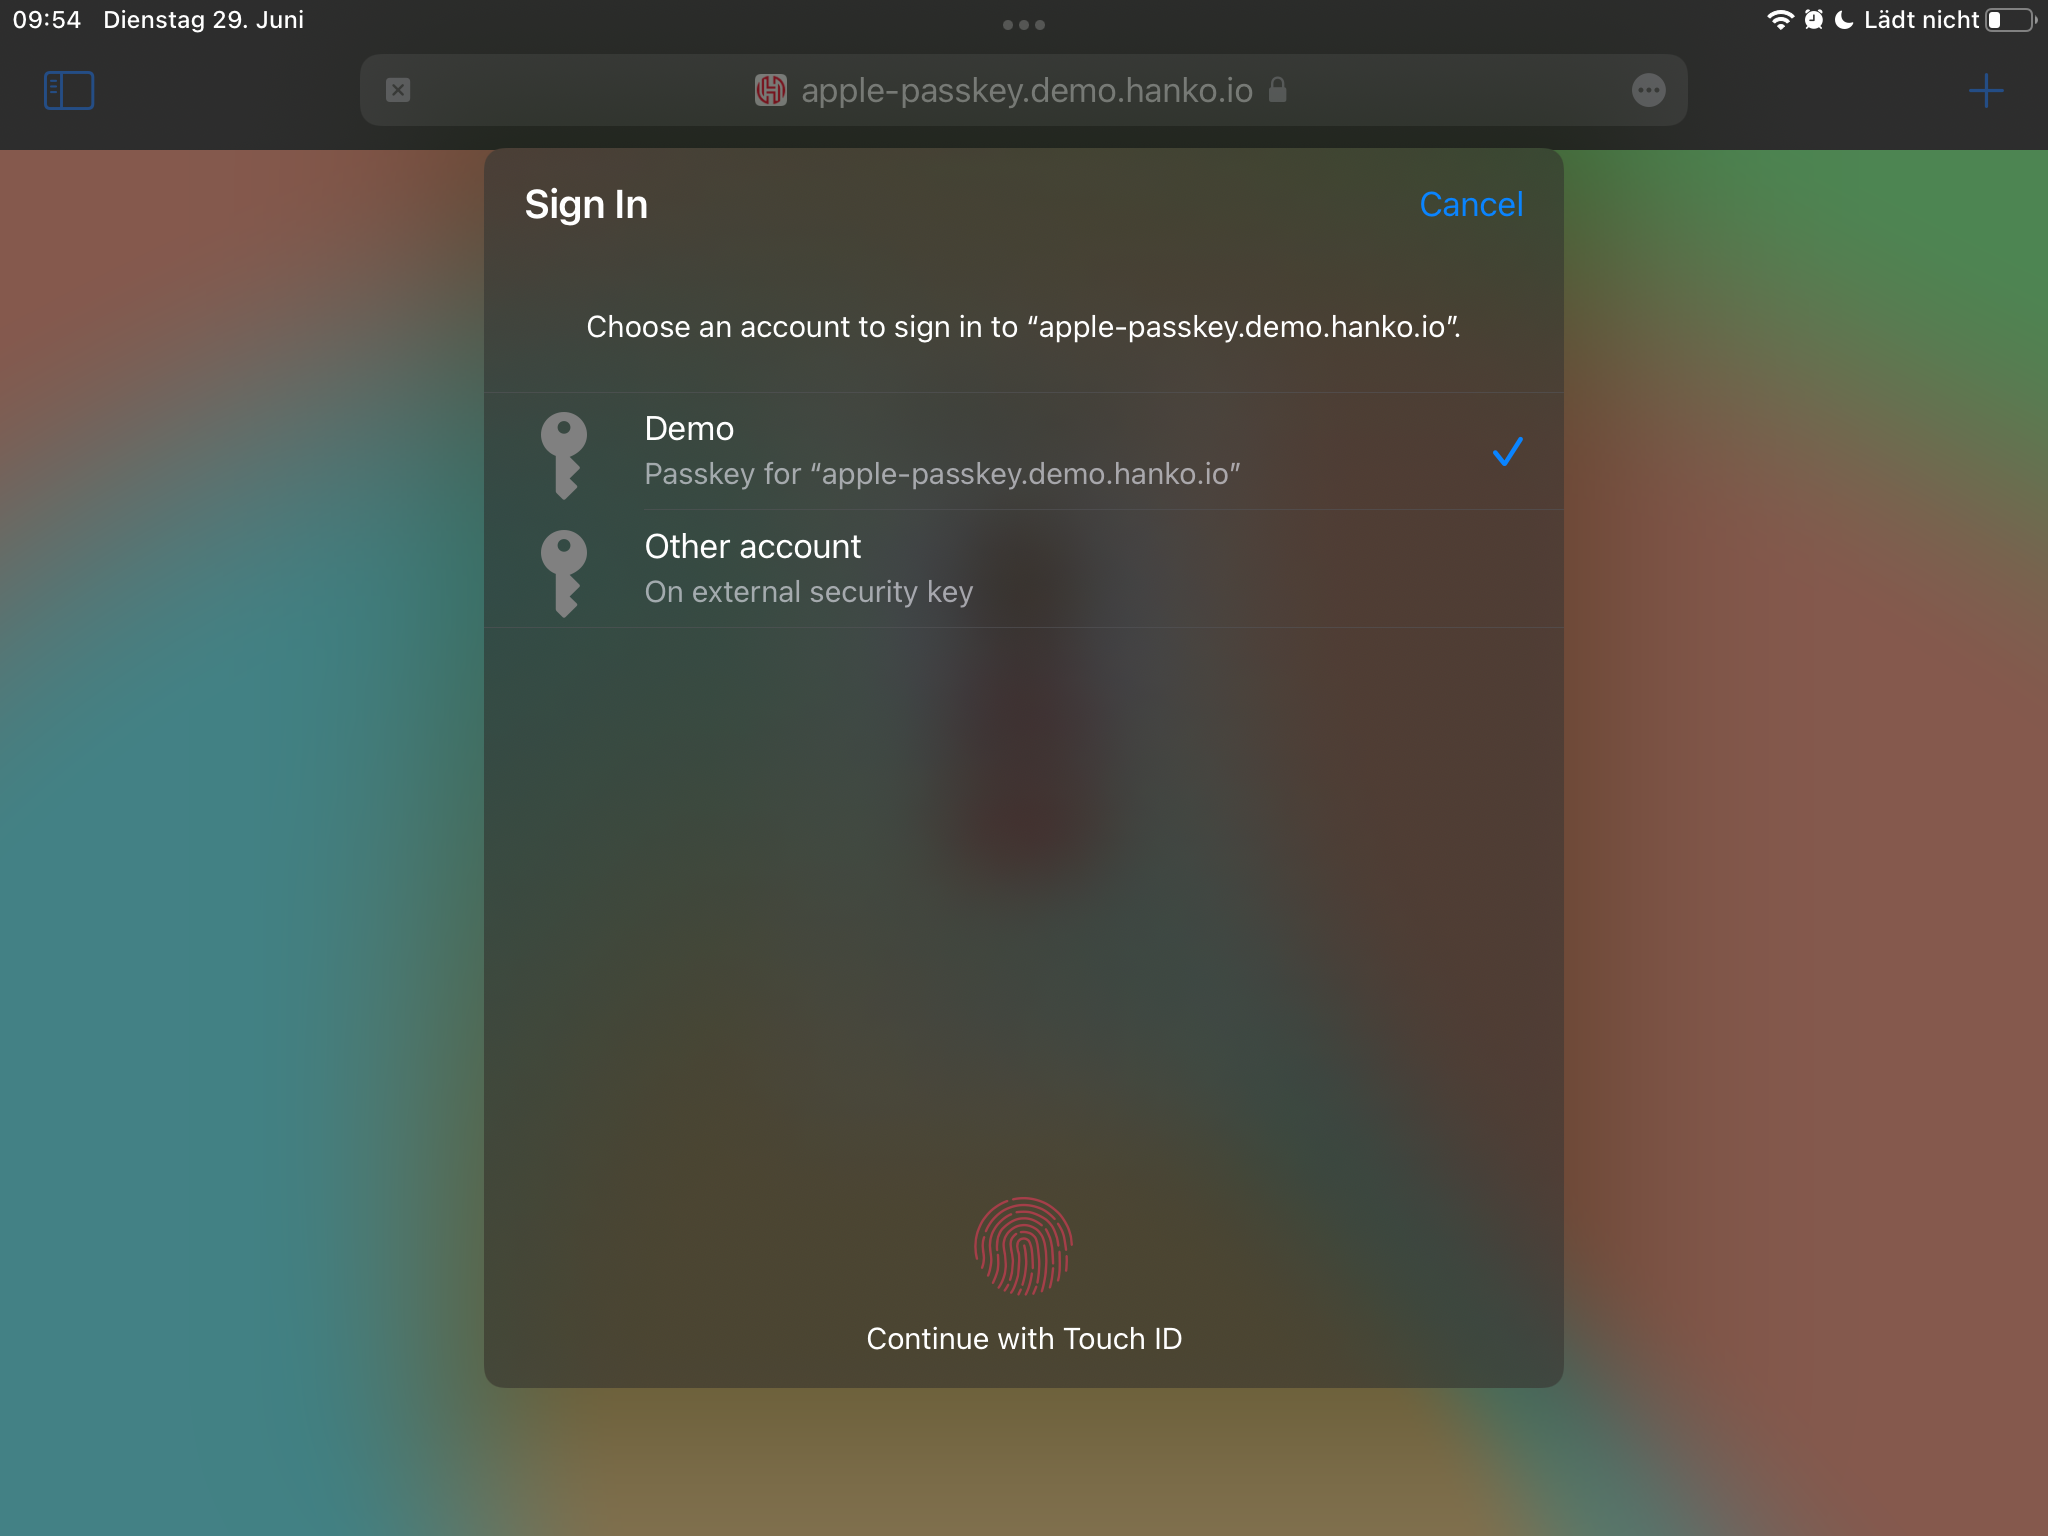
Just like at registration, a native OS dialogue will show up. You are being presented with a list of registered passkeys and can confirm usage with a simple click. Again, the passkey is being used to sign the request, the key itself will not leave your device! Once a passkey has successfully been used, the resulting Authenticator response is sent to the Hanko API for validation, using the backend’s /authentication_finalize endpoint.
Now to the second half of the do_auth() function in our frontend:
The backend code takes the response from the authenticator and validates it against the Hanko API. In case of success, a session is being created and the frontend code redirects to our private /content page.
That’s it! You are signed in, using only a passkey that is protected and unlocked by your preferred local authentication mechanism: Face ID, Touch ID or a PIN. Try the login with your iPhone, it just works without registering again – no passwords involved!
Of course we have prepared a running example for you, just in case. You can find it here.
And you can access the complete source code of this project on our GitHub. (Link deleted)
Now, as WebAuthn is a widely adopted internet standard, this demo also works using other browsers and platforms. Give it a try, invite your friends, your mom, and your co-workers to join the fun and feel the difference of a convenient and highly secure login experience. WebAuthn powered by the Hanko API 💪
See you for part 2 of this guide where we will add Apple's Shiny iOS app to our demo setup.
If you enjoyed this guide, have a question, or any thoughts how we can improve, please reach out or join our Discord community.
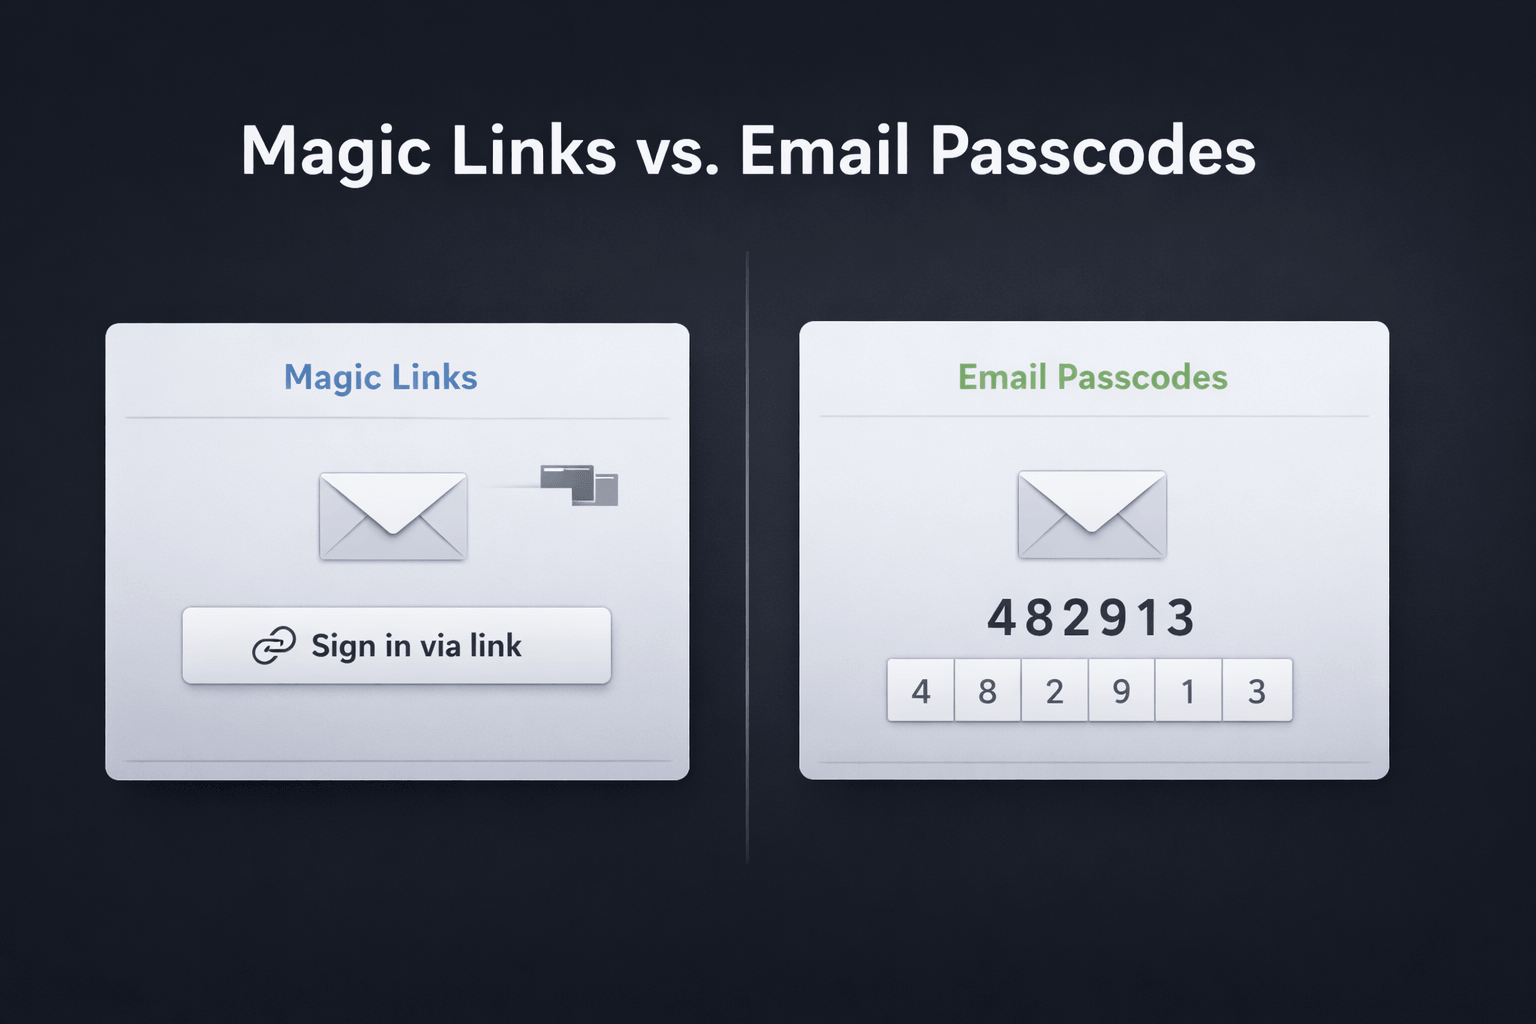
Magic links and email passcodes both promise passwordless login with low friction. But once you look at cross-device sign-in, browser behavior, email

Why we’re moving Hanko from a Kubernetes-native single-tenant setup to a multi-tenant architecture and what “cloud native” got wrong for a small team.

"Zombie passkeys" – passkeys that exist in a limbo state between client devices and authentication servers.